
Are you a DIY novice considering upgrading your kitchen with a glass splashback? Look no further! In this blog, I’ll share my first-hand experience and assure you that fitting a kitchen splashback with the proper instructions is incredibly rewarding. Before diving into the installation process, let’s go over the simple steps involved:
Step 1: Check and Prepare
First, ensure you have the correct item, size, and colour and inspect it for damage. Then, make sure the surface you’ll be fixing the glass splashback to is dry, clean, and free of dust and grease. This step is crucial for ensuring a secure and long-lasting bond.
Step 2: Fit Check
Hold the splashback against the wall to check the fit. Use spacers if needed to achieve a snug fit. This step ensures that you have the correct positioning before proceeding with the installation.
Step 3: Apply Adhesive
Once you’ve confirmed the fit, it’s time to apply the adhesive. Ensure the wall is dry, clean, and free of dust and dirt. Apply a generous coating of adhesive to the back of the splashback, taking care not to apply it too close to the edges.
Step 4: Secure in Place
Place the splashback’s bottom edge onto the spacers and push it firmly against the wall. Apply even pressure over the entire surface to ensure a secure bond. Use additional support for larger or heavier pieces until the adhesive dries completely.
Step 5: Seal the Edges
Once the splashback is securely in place, seal the edges with a bead of sealant, ensuring a thickness of at least 2.5mm. This step provides a finished look and helps prevent moisture from seeping behind the splashback.
With these straightforward instructions, even a DIY novice like myself could install a glass kitchen splashback successfully. The process was surprisingly easy and hassle-free, and the results were impressive.
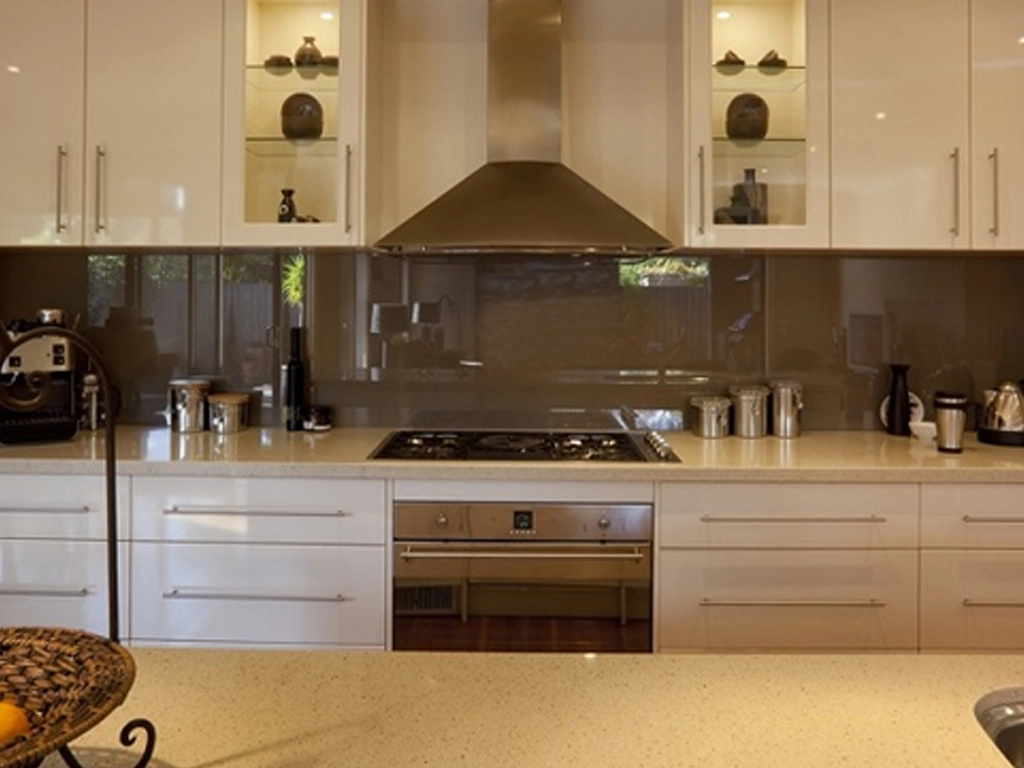
Not only does the glass splashback add a touch of modern elegance to my kitchen, but it also makes cleaning and maintenance a breeze. The smooth, non-porous surface is easy to wipe with a damp cloth or mild cleaning solution, saving me time and effort in my daily routine.
One of the most exciting aspects of glass splashbacks is their versatility in design. Unlike traditional finishes like tiles or painted walls, which offer limited options in terms of colour and pattern, glass splashbacks serve as a blank canvas for creativity. Any design or colour can be applied to the glass surface, allowing you to customise your kitchen to match your unique style and preferences. Whether you prefer a bold, vibrant design or a subtle, understated look, the possibilities are endless with glass splashbacks. Plus, the sleek, glossy glass surface adds a touch of modern elegance to any kitchen, making it a versatile and stylish choice for DIY enthusiasts of all skill levels.
With these straightforward instructions and the limitless design possibilities of glass splashbacks, even a DIY novice like myself was able to transform my kitchen successfully. The process was surprisingly easy and hassle-free, and the results were impressive. Not only did the glass splashback add a modern touch to my kitchen, but it also provided a durable and easy-to-clean surface that enhanced the space’s functionality.
In conclusion, keep your DIY skills from preventing installing a glass kitchen splashback. With the proper instructions and a bit of creativity, you’ll be amazed at how easy and rewarding the process can be. So go ahead, take the plunge, and give your kitchen the upgrade it deserves!
Overall, I couldn’t be happier with my decision to purchase a glass kitchen splashback. It’s transformed the look and feel of my kitchen, and I can’t recommend it enough to anyone considering a kitchen upgrade.


Leave a Reply