
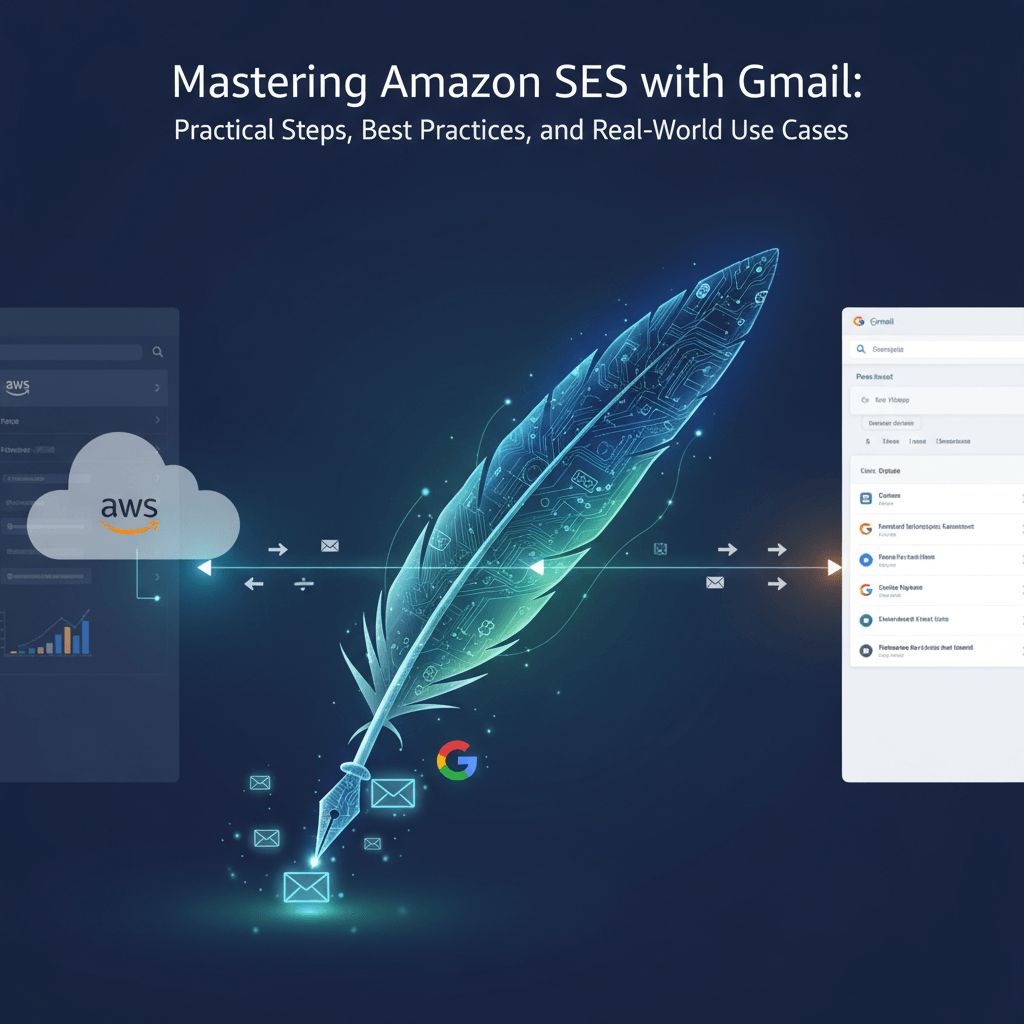
Amazon Simple Email Service (SES) is a scalable, cost-effective solution for sending email from applications. Integrating SES with Gmail—whether you’re sending from a Gmail address, receiving via Gmail, or using Gmail as your email client while SES handles sending—can unlock reliable deliverability, tighter security, and better analytics. This guide provides practical, evidence-backed steps to configure SES with Gmail, common pitfalls, and actionable tips you can implement today.
What is Amazon SES?
Amazon SES is a cloud-based email sending service designed for developers and businesses. It provides:
- Scalable sending infrastructure
- Built-in reputation and deliverability features (SPF, DKIM, DMARC)
- Flexible integration options (SMTP, API, and AWS Console)
- Cost efficiency for high-volume email
SES can be used to send transactional messages (order confirmations, password resets) and marketing emails, with powerful monitoring and analytics.
Why Combine SES with Gmail?
Using SES in conjunction with Gmail can offer several advantages:
- Improved deliverability for transactional and marketing emails sent from your applications.
- Gmail as a familiar email client for composing and monitoring messages.
- Centralized management of credentials and SMTP settings.
- Enhanced security with IAM-based access and rotating SMTP credentials.
Note: Gmail is used here as the client for sending via SES SMTP. SES handles the actual dispatch, while Gmail provides the interface you’re comfortable with.
Planning Your SES-Gmail Integration
Before you start, plan your configuration to avoid delays and deliverability issues.
Choose your sending method
- SMTP interface: Simple to set up with Gmail’s SMTP settings, suitable for lightweight needs.
- SES API: Best for application-level sending with higher throughput and richer analytics; requires code changes.
- Hybrid approach: Use SES API for backend sending and Gmail/SMTP for administrative emails or for testing.
For Gmail users who want a straightforward setup, SMTP is typically the quickest path.
Verify domains and identities
- Domain verification: Verifies you own the domain and allows you to send from any address at that domain.
- Email identity: Verifies a single email address. Useful for testing or if you only need to send from one address.
Domain verification is usually preferred for long-term flexibility.
Set up DNS records
To establish trust and deliverability, you’ll add DNS records:
- SPF: Authorizes SES to send on behalf of your domain.
- DKIM: Signs messages to prevent tampering and improve deliverability.
- MX records (if you plan to receive): Optional unless you enable SES receiving.
If you already use SES with AWS, you’ll manage these records in your domain’s DNS host.
Warm up your sending IPs
If you’re using dedicated IPs, ramp up gradually to build and protect your sender reputation:
- Start with low volumes
- Gradually increase over weeks
- Monitor bounce rates and complaint rates
Warming is less critical if you stay within SES’s shared pool and maintain good practices.
Step-by-Step Setup Guide
Follow these steps to connect Gmail to SES via SMTP and start sending from your Gmail interface.
1) Verify a Domain or Email Identity
- Sign in to the AWS Management Console and open Amazon SES.
- Choose Identity Management > Domains (or Email Addresses).
- If verifying a domain:
- Click Verify a New Domain.
- Enter your domain (e.g., example.com) and choose Verify This Domain.
- Add the provided DNS TXT record to your domain’s DNS.
- Optionally enable DKIM (Amazon SES can generate CNAME records for DKIM).
- If verifying an email address:
- Add the email address (e.g., mail@example.com) and complete verification via the email link you receive.
Verification can take a few minutes to several hours depending on DNS propagation.
2) Request Production Access
By default, SES accounts begin in the SES sandbox, which restricts sending to verified addresses only. To send to unverified recipients and gain higher sending limits, you must request production access.
- In the SES console, submit a request to move out of the sandbox.
- Provide details: your use case, sending type (transactional/marketing), estimated volume.
- Once approved, you’ll receive production access with higher sending limits.
3) Configure DKIM and SPF
- SPF: Add an SPF TXT record to authorize SES to send on your domain’s behalf. Example value:
- v=spf1 include Amazonses.com ~all
- DKIM: In the SES console, enable DKIM for your domain. SES provides CNAME records that you must add to DNS.
- After DNS propagation, verify that DKIM is active in the SES console.
4) Create SMTP Credentials
- SES uses IAM credentials to authenticate SMTP access.
- In the AWS Management Console:
- Go to IAM > Users > (Your SES User) > Security credentials.
- Create SMTP credentials (this creates an IAM user and corresponding SMTP password).
- Note the SMTP endpoint for your region (e.g., email-smtp.us-east-1.amazonaws.com) and the port (25, 587, or 2587 for TLS).
5) Connect Gmail to SES via SMTP
Option A: Using Gmail as the client
- Open Gmail and go to Settings > See all settings > Accounts and Import.
- Add another email address you own:
- Name: Your Name
- Email address: an address verified in SES (e.g., noreply@example.com)
- SMTP Server: email-smtp.us-east-1.amazonaws.com
- Port: 587 (TLS) or 25
- Username: your SES SMTP username (the one created in IAM)
- Password: the corresponding SMTP password
- Require TLS: Yes
- Verify ownership if prompted (Gmail may send a confirmation email to the SES-verified address).
- Set the new SMTP address as default if desired, and configure reply-to address as needed.
Option B: Sending from Gmail using SES as the underlying SMTP
- If you want to send emails from Gmail’s UI but route through SES, the above steps apply. Emails will appear to recipients as coming from your SES-verified domains or addresses.
Notes and caveats:
- Gmail’s SMTP relay will send via SES, but you’ll be subject to SES sending limits until you’re out of sandbox and beyond basic limits.
- Ensure the “From” address you configure in Gmail aligns with a verified identity in SES. The envelope-from (Return-Path) will be managed by SES.
6) Optional: Receiving Email with SES
If you also want to receive email via SES and have it delivered to an S3 bucket, SNS, or Lambda:
- In SES, configure a receipt rule set.
- Add an action to deliver to the destination (S3, Lambda, or SNS).
- Create MX records in your DNS to point to SES receiving endpoints.
- Use Gmail or another client to fetch or forward received messages if needed (via Gmail’s own forwarding or POP/IMAP).
If you mainly need Gmail for reading inbound mail, you can also set up Gmail to fetch from another mailbox, but that is separate from SES.
Deliverability Best Practices
To maximize deliverability when sending via SES and viewing/archiving in Gmail:
- Maintain good sender reputation:
- Keep bounce rates low (aim for <1% initially, then under 0.1% for high volume).
- Minimize complaint rates (below 0.01% if possible).
- Authenticate properly:
- SPF and DKIM must be correctly configured and propagated.
- Enable DMARC to protect your domain and improve deliverability.
- Segment send types:
- Use dedicated IPs for high-volume or important transactional emails.
- Separate transactional from marketing emails to protect reputations.
- Content quality:
- Avoid spammy language, deceptive subject lines, or misleading content.
- Include clear unsubscribe options for marketing emails.
- Rate limiting and warm-up:
- If using dedicated IPs, gradually increase sending volume.
- Monitor bounce and complaint feedback loops (FBL) and adjust campaigns accordingly.
- Monitoring:
- Use SES metrics, CloudWatch, and SES sending statistics to track deliverability.
- Regularly review bounce reasons and recipient engagement.
Common Pitfalls and Troubleshooting
- Sandbox restrictions:
- If you’re in the SES sandbox, you can only send to verified addresses. Request production access to scale.
- Verification delays:
- DNS propagation may take time; ensure TXT and CNAME records are correctly published.
- DNS misconfigurations:
- SPF or DKIM misconfigurations can hurt deliverability. Use online SPF/DKIM validators to confirm.
- SMTP authentication issues:
- Ensure you use the correct SMTP username (not your AWS console password) and the generated SMTP password.
- From vs. envelope-from mismatches:
- SES uses the Return-Path (envelope-from) controlled by SES. Ensure your Gmail settings align with verified identities.
- Gmail limitations:
- Gmail may impose sending limits per day for external SMTP relays; stay within those limits or upgrade through SES
Real-World Use Cases
- Startups sending transactional emails (order confirmations, password resets) from a domain, while using Gmail as the day-to-day email client for internal communications.
- SaaS platforms delivering high-volume transactional emails with SES’s scalable infrastructure, with staff using Gmail for monitoring and response templates.
- E-commerce businesses centralizing communications by sending from a branded domain via SES, while using Gmail for marketing outreach and customer support coordination.
FAQ
- Do I need to verify my domain to send via SES with Gmail?
- Yes. Verifying a domain (preferred) or a specific email identity is required to prove ownership and enable sending.
- Can I send marketing emails through SES using Gmail?
- Yes, but ensure compliance with CAN-SPAM, including clear unsubscribe options. Consider using dedicated IPs and proper segmentation for higher deliverability.
- What about SPF and DKIM—do I need to configure them even if I’m using Gmail as the client?
- Yes. SPF and DKIM must be configured for your domain to ensure trust and deliverability, regardless of the client you use.
- Why is my Gmail sending via SES ending up in spam?
- Possible reasons: poor sender reputation, SPF/DKIM misconfigurations, high bounce/complaint rates, or spammy content. Review authentication records, reduce bounces, and test with small batches.
- How do I move out of the SES sandbox?
- In the SES console, request production access and provide details about your expected sending use case and volume. After approval, you can send to unverified recipients within policy.
- Can I use SES API and Gmail together?
- Yes. Use SES API for back-end sending (apps, services) and Gmail SMTP for manual or administrative emails if desired. They’re compatible and can be used in tandem.
- Are there cost considerations I should be aware of?
- SES pricing is typically per-email sent, plus data transfer. Gmail usage is free up to the limits of your Google Workspace or free Gmail plan. Factor in SMTP relay costs only if you exceed free usage.
Conclusion
Integrating Amazon SES with Gmail can provide the best of both worlds: the reliability and scalability of SES for sending, paired with the familiarity and convenience of Gmail as your email client. By carefully verifying identities, configuring SPF and DKIM, provisioning and securing SMTP credentials, and following deliverability best practices, you can achieve high-precision deliverability, robust security, and streamlined workflows.
If you’re new to cloud-based email sending, start in the sandbox, gradually escalate to production, and monitor results closely. With thoughtful planning and consistent hygiene, SES + Gmail can become a powerful, scalable solution for both transactional and marketing emails.


Leave a Reply